 中文
中文 English
 Français
 Deutsch
 Português
 日本語
日本語 한국어
한국어
### Materials Needed:
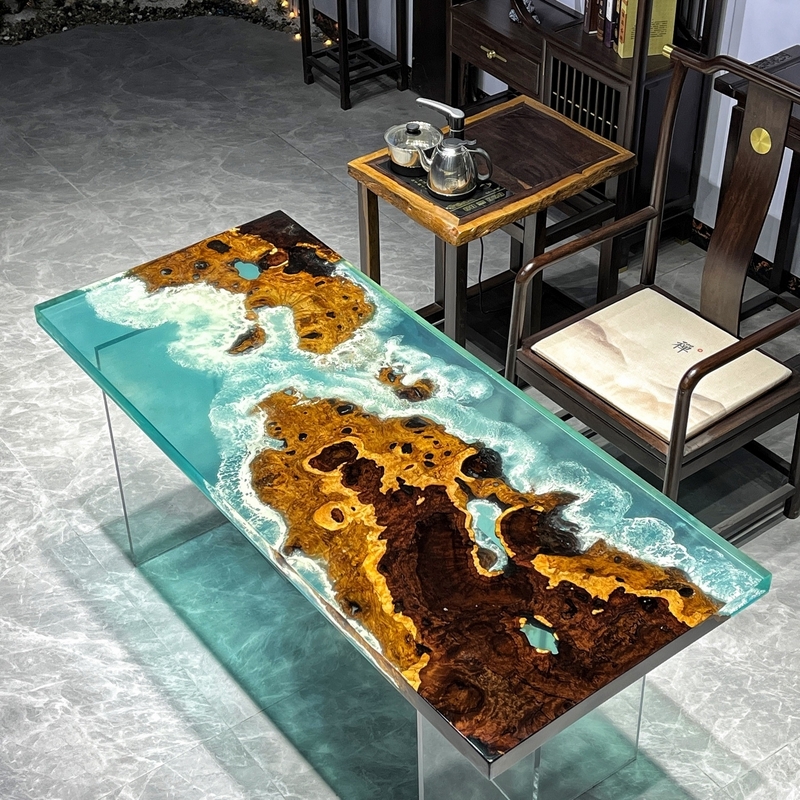
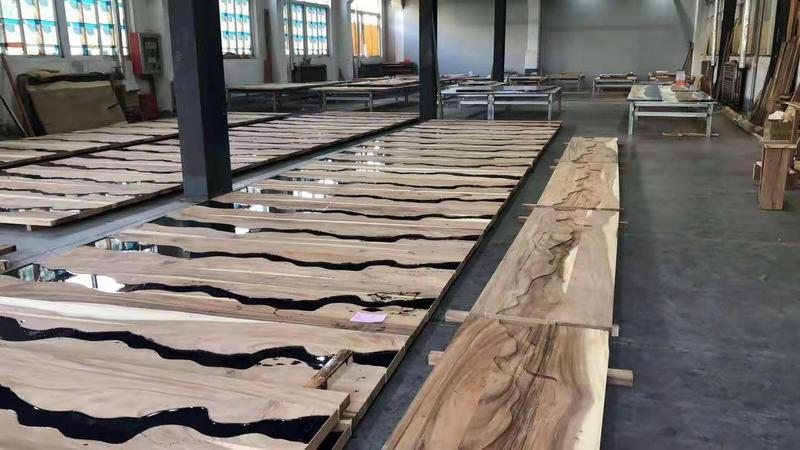
1. Wood slab for the tabletop
2. Epoxy resin
3. Pigment or dye (optional for coloring the resin)
4. Mold release (if using a mold)
5. Woodworking tools (sander, router, etc.)
6. Protective gear (gloves, mask, goggles)
7. Clamps
8. Sealant or finish for the wood
### Steps:
#### 1. Prepare the Wood:
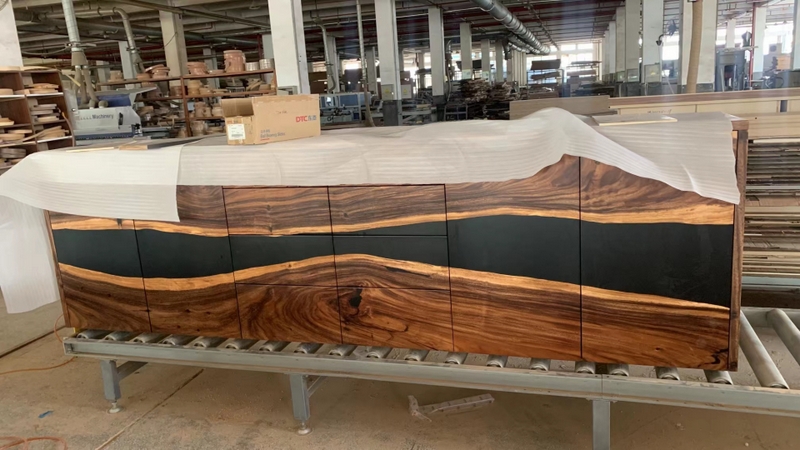
- Choose a suitable wood slab for your tabletop. Hardwoods like walnut, oak, or maple are commonly used.
- Cut the wood slab to the desired size and shape. Ensure it's flat and free from any defects.

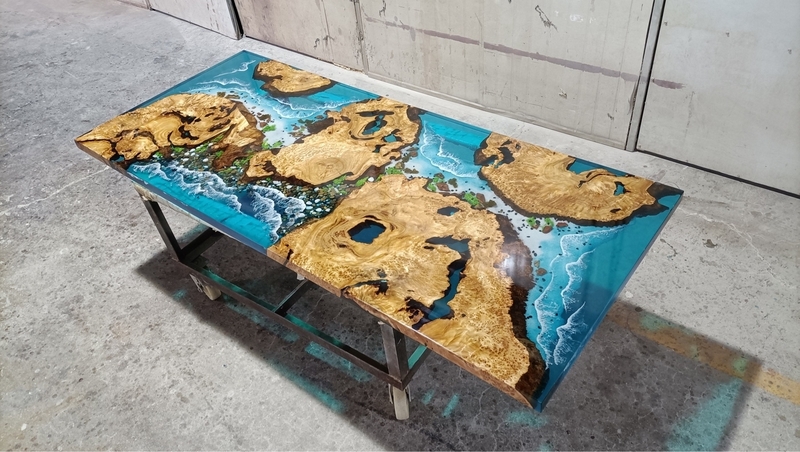
#### 2. Create the Mold (if necessary):
- If you're making a river table with two separate pieces of wood, you'll need a mold to contain the epoxy.
- Build or purchase a mold that matches the shape and size of your tabletop.
#### 3. Seal the Wood:
- Seal the wood to prevent air bubbles from forming in the epoxy.
- Apply a sealant or finish to the wood surface and let it dry completely.
#### 4. Prepare the Epoxy:
- Follow the manufacturer's instructions to mix the epoxy resin and hardener. Be sure to mix it thoroughly to avoid any issues.
#### 5. Add Pigment (if desired):
- If you want to add color to the epoxy, mix in the pigment or dye according to the manufacturer's instructions.
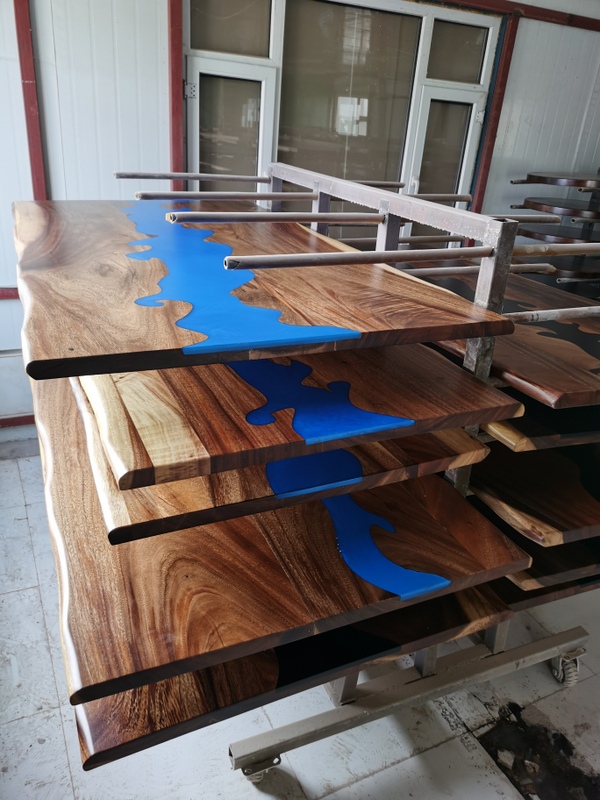
#### 6. Pour the Epoxy:
- Pour a small amount of epoxy into the river channel or mold, filling it to the desired depth.
- Use a heat gun or torch to remove any air bubbles that rise to the surface.
#### 7. Place the Wood:
- Carefully place the wood slab onto the wet epoxy, making sure it's centered and level.
#### 8. Pour Remaining Epoxy:
- Continue pouring epoxy around the wood slab until the river channel or mold is filled to the desired level.
- Use a heat gun or torch to remove any remaining air bubbles.
#### 9. Let it Cure:
- Allow the epoxy to cure according to the manufacturer's instructions. This typically takes 24 to 72 hours.
#### 10. Remove from Mold (if applicable):
- If you used a mold, carefully remove the tabletop from the mold once the epoxy has fully cured.
#### 11. Finish the Tabletop:
- Sand the tabletop to remove any imperfections or rough edges.
- Apply a protective finish to the wood to enhance its appearance and durability.
#### 12. Final Touches:
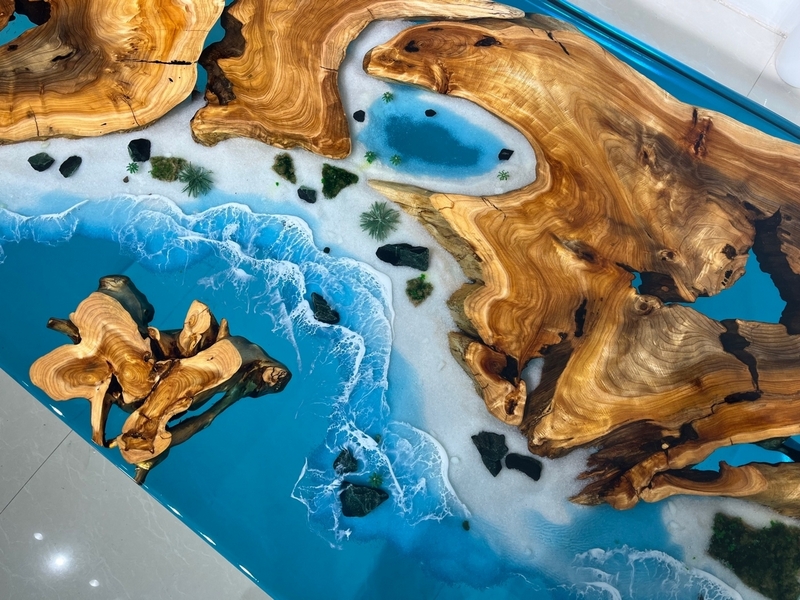
- Add any additional touches or details to personalize your river table, such as inlaying stones or shells into the epoxy.
### Tips:
- Work in a well-ventilated area when working with epoxy resin.
- Take your time and follow the instructions carefully to ensure the best results.
- Practice pouring epoxy on a small scale before attempting a large project.
- Use caution when using heat guns or torches to remove air bubbles, as excessive heat can damage the epoxy or wood.
With patience and attention to detail, you can create a stunning epoxy river table that will be a beautiful addition to any space!
Follow Us 14years+ Solid Wood Furniture Manufacturer.
Alibaba website:https://woodyoulike.en.alibaba.com/
Official website:https://www.woodyoulike.org/
Youtube
https://www.youtube.com/@hijackychan
https://www.youtube.com/@woodyoulikewood
Contact
Attn: Jacky Chan
Whatsapp/phone:+86-18221567891
Email: info@chinaworktops.com


